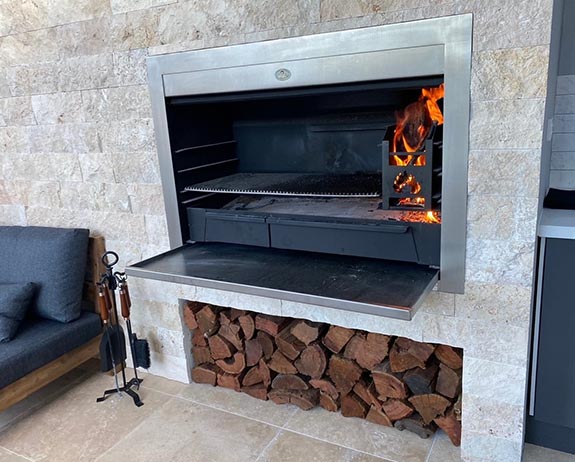
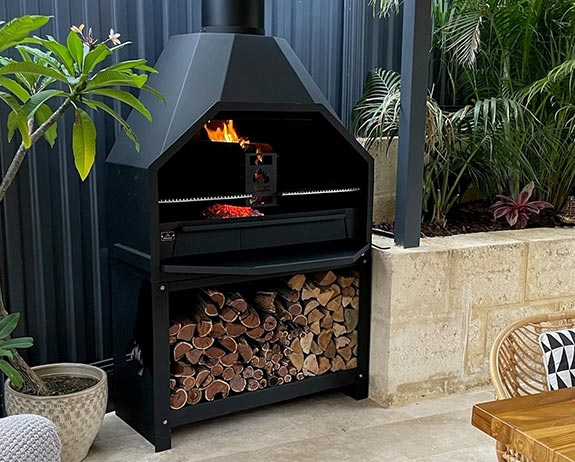
_Advantages of a Home Fires Braai

Please read the detailed instruction before installation
INSTALLATION INSTRUCTIONS
- Only A grade hot rolled mild steel of 3mm thickness is used for fire boxes, which ensure a long lasting product and peace of mind.
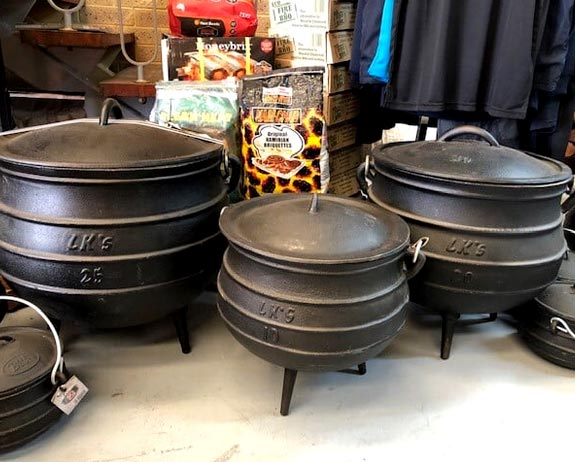
- The braai enables you to grill, bake bread, prepare stir-fry dishes, do a traditional potjie kos, smoke meat or fish, or even spit-roast the occasional leg of lamb using the heavy duty rotisserie option.
- The Braais are fitted with an ember maker for the quick and easy making of embers, which allows bbq within 15 minutes. This unit makes kindling a fire an easy task. It provides you with a continuous flow of embers and you have the enjoyment of a fire.
- You can use your braai unit as a fireplace to heat your indoor entertainment area when it is equipped with convection ducts or with a chimney damper.
- Both 1000 and 1200 models have an upper door as well as a lower door that double as a convenient table or worktop.
- All braais feature height adjustable grills.
- A wide variety of accessories are available that enables creative barbecuing.The braais feature a 220V light fitting on the inside to provide enough light even for use at night. Braais feature a movable ember maker, which enables the user to have different configurations with various accessories.
INSTALLATION INSTRUCTIONS
- Construct brick support walls (1) for the unit. (Choose personal desired height: 7 - 9 bricks high)
- Position the unit, cover sides, back and top with fiberglass insulation (2) and brick in the unit. The insulation should be held in position with adhesive tape. To protect the paintwork on your braai flange and inside body we advise that the chimney outlet and the flange is covered with any form of protection during construction. A lintel or slab underneath the unit is not required.
- To ensure that the top door stay open when the braai is used; make sure that none of the finished brickwork protrude past the flange of the braai.
- If decided to utilise the space underneath the braai for wood or any other combustible materials it is recommended to build a concrete slab underneath the braai.
- Ensure that a gap of 20 mm (2) is left between the body of the unit (sides and back) and the brickwork to allow for expansion.
- The inner dimensions of the chimney must not be less than the flue outlet opening size on the top of the unit (3).
- Flue liners (steel) will provide a smooth surface for a better draw and will protect brickwork against heat corrosion (4).
- Chimney height is critical for a proper draw. 2.5 meters is the minimum. Consult your supplier for guidelines on chimney stack heights for different roof types.
- Use standard flashing material and procedures to waterproof chimney stack (5). Lead flashing has been found most successful. Protect your braai against rain water!
- Flue can be offset in order to avoid obstructions (consult your supplier in this regard). Provide sufficient brackets to prevent downward sagging. An offset can be up to 45 degrees.
- A cowl (rotating or fixed) (6) will keep rain out of the flue in order to prevent the unit from rusting. A rotating cowl will prevent down-draughts on windy days, and is a requirement on thatched roofs.
- Exposed components (cowl and cowl base and in some cases steel flue pipes) must be painted with enamel or rust resistant paint after installation. Use colour to match roof tiles and repaint regularly. Interior components can be maintained with heat resistant (650C) matt black paint